 Save
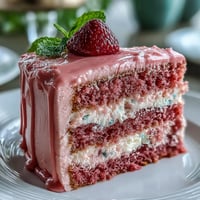
Save The first time I made this Rosé Velvet Cake, I didn’t even own a proper cake stand—just a stack of dinner plates waiting to be pressed into service. The air filled with that delicate sweet-and-floral scent as the layers baked, and there was a trace of nervous excitement as I hoped the blush hue would turn out just right. I remember the gentle fizz of rosé that lingered as I poured it into the batter, a little ritual that felt both celebratory and daring. It’s the kind of cake that feels like a surprise party emerging from the oven, gold drip and all. Even a stray streak of frosting across my cheek couldn’t dim my anticipation to see it crowned on the table.
I brought this cake to my cousin’s bridal shower, and halfway through frosting, my niece wanted to help—which meant sneaking tastes of the cream cheese frosting until we both had pink-tipped fingers. We laughed over uneven layers and gold splatters, but when the cake finally took center stage, no one noticed the imperfect edges—just the glimmer and joy. Those giggles made the whole process worth it. Sometimes, the best kitchen moments come from a little chaos and a lot of heart. And that’s exactly what made that afternoon unforgettable.
Ingredients
- All-purpose flour: Measured carefully, this forms the structure for beautifully tender layers—taking the time to sift it really makes the crumb airy.
- Granulated sugar: Creaming sugar with butter is what gives every bite a light, velvety texture; don’t rush it.
- Baking soda & baking powder: Together, these let the layers rise into proud, even cakes—freshness is key for the best lift.
- Salt: Even a pinch brings out both chocolate and rosé notes, elevating their flavors instead of just making things salty.
- Unsweetened cocoa powder: Adds a gentle cocoa base, supporting the pink blush rather than overpowering it—choose a natural cocoa for subtlety.
- Unsalted butter: Room temperature is a must for creaming; I always leave it out while I prep the rest of my ingredients.
- Buttermilk: Lends that signature velvet tang and helps keep the crumb oh-so-moist—I swear by room temperature for smoothest mixing.
- Rosé wine: The star that makes the whole cake sing, so pick a bottle you’d enjoy sipping as well.
- Large eggs: Bring them to room temperature for easy blending—cold eggs create a dense batter, which you want to avoid.
- Vanilla extract: A splash rounds out all the flavors, making the cake delicately fragrant.
- White vinegar: A secret classic for velvet cakes, balancing flavors and adding to the texture—don’t skip it.
- Pink food coloring gel: Gel gives a vivid, stable pink—add gradually for just the right blush without overdoing it.
- Cream cheese & powdered sugar: For the frosting, both need to be soft and sifted to ensure the result is the fluffiest, dreamiest texture.
- White chocolate chips & heavy cream: These make a silky drip that sets beautifully for decorating—gentle heating prevents scorching.
- Edible gold luster dust & vodka (or extract): The magic touch for painting that regal gold finish on every drip; food-safe tools are essential.
Tired of Takeout? 🥡
Get 10 meals you can make faster than delivery arrives. Seriously.
One email. No spam. Unsubscribe anytime.
Instructions
- Prepare for Baking:
- Heat your oven to 350°F (175°C), then line and grease three 8-inch pans so the cakes slip out like a dream later.
- Sift Dry Ingredients:
- Whisk the flour, cocoa, leaveners, and salt in a bowl—watch the cocoa leave delicate puffs in the air.
- Cream Butter and Sugar:
- Beat butter and sugar until it’s pale and fluffy; it should fall off the beaters softly, like whipped clouds.
- Add Eggs and Vanilla:
- Crack in the eggs, one after the other, mixing well; drizzle in a capful of fragrant vanilla.
- Mix In Wet Ingredients:
- Pour in buttermilk, rosé, and vinegar, blending gently; don’t be startled if the batter looks a little uneven at first.
- Add Dry Ingredients:
- Gradually fold the flour mixture into wet ingredients, mixing just until combined; stop as soon as no flour streaks remain for the softest crumb.
- Tint and Divide:
- Swirl in drops of pink gel until you have the perfect blush—divide between your pans and smooth the tops for even baking.
- Bake and Cool:
- Bake until a skewer comes out clean, about 30 to 35 minutes; cool in pans 10 minutes, then transfer to wire racks to finish cooling completely.
- Make Frosting:
- Beat butter and cream cheese until creamy, then gradually mix in powdered sugar; add rosé, vanilla, and salt—keep blending until luxuriously fluffy.
- Assemble the Cake:
- Trim cake domes if needed, then layer with frosting—don’t be afraid to use an offset spatula for neat edges; crumb coat and chill for 30 minutes before finishing with a final layer.
- Gold Drip:
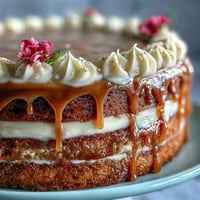
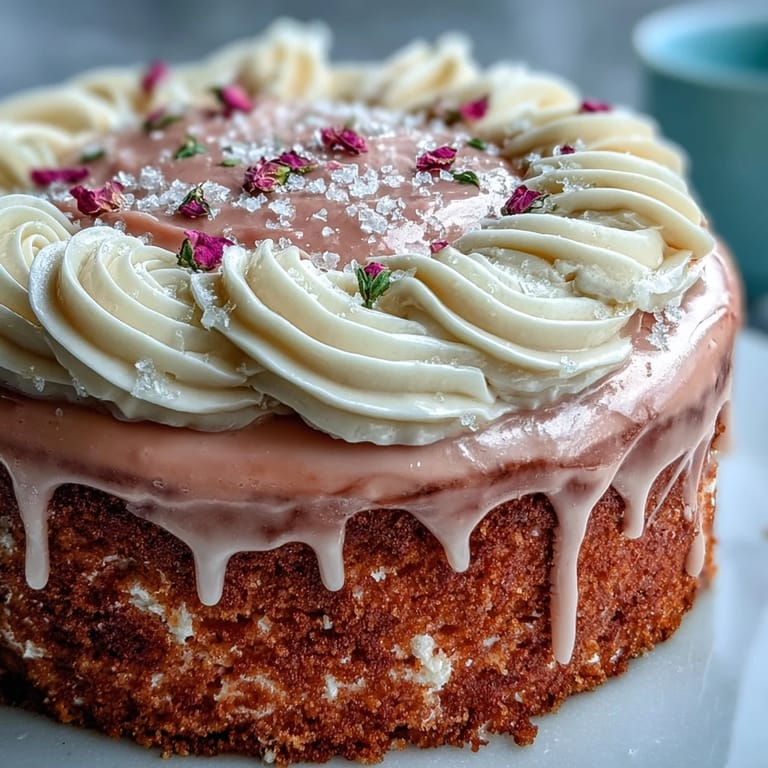
- Microwave white chocolate and cream in bursts, stirring until glossy and smooth; let cool, then drip over cake edges using a spoon or bottle for drama.
- Paint the Gold:
- Mix edible gold dust with vodka; dip your brush in and gently stroke each drip with gold paint—the transformation feels straight out of a fairy tale.
- Chill and Serve:
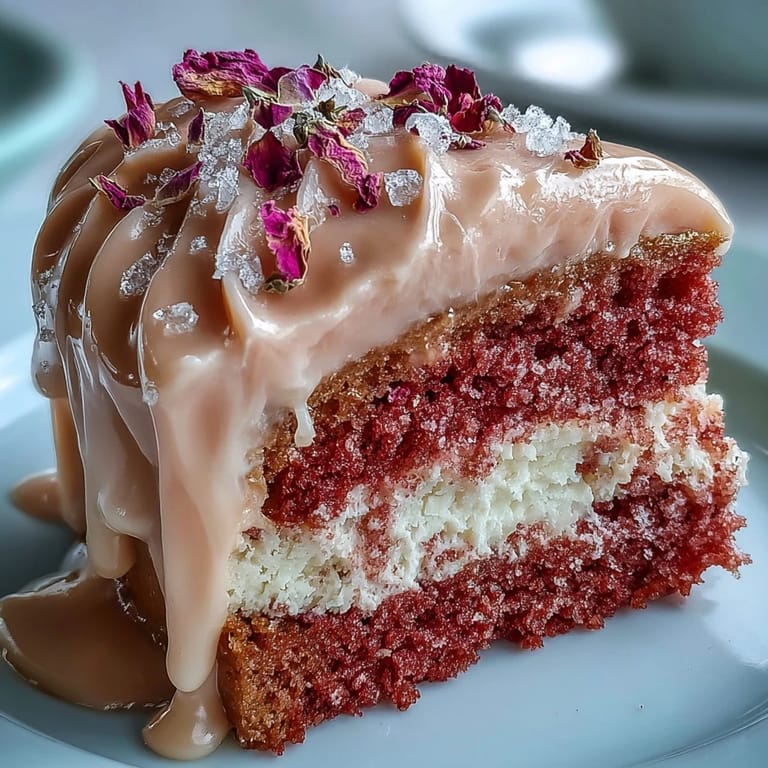
- Refrigerate cake for 30 minutes so everything sets before slicing into those beautiful rosy layers.
 Save
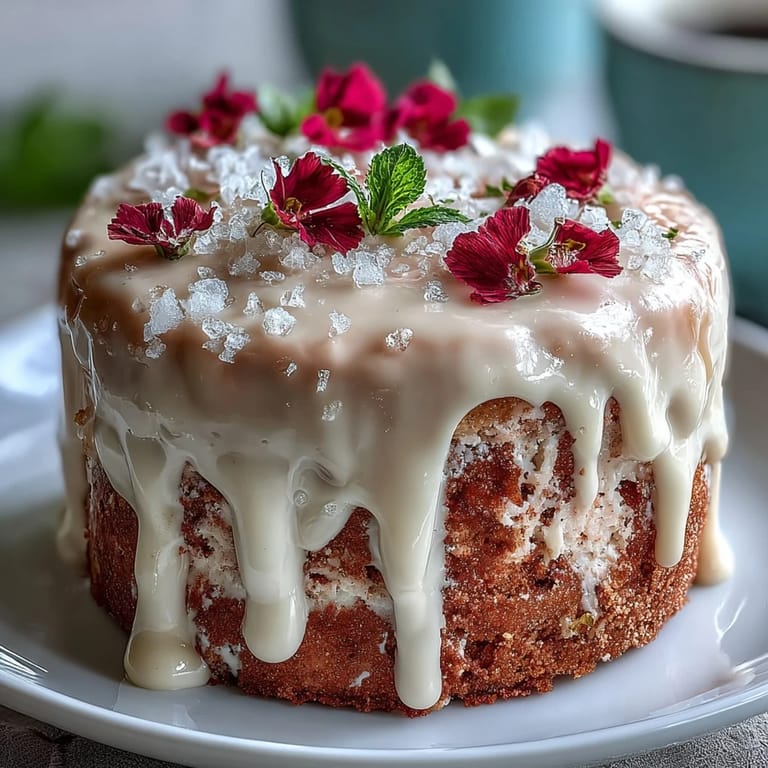
Save When I finally set the cake on the table, my grandmother leaned in for a closer look and whispered that it sparkled almost as much as the bride’s ring. It was at that moment I realized just how much a homemade touch can light up a celebration—gold drip, rosy layers, and all.
The Cake That Steals the Show
Baking this cake feels like prepping for an event in itself: between waiting for layers to cool and painting the gold drip, patience becomes your best ingredient. What surprises me every time is how forgiving the process is—even a slightly crooked layer gets covered in fluffy frosting and gilded drops, transforming into showstopper status.
Frosting That’s Worth Lingering Over
Take a moment to taste the finished frosting before you start spreading—a little extra rosé here, a touch more salt there, and you’ll find your own favorite version. Don’t worry if crumbs mingle with the crumb coat, either; that first pass is just a foundation and will vanish beneath the final soft snowy layer.
Hand-Painted Finishing Touches
Painting the gold drip is both a labor of love and a guaranteed conversation starter, so take your time and enjoy each shimmer. The beauty is that every drip becomes unique—kind of like every celebration itself.
- If your gold seems too dull, add another drop of vodka for a smoother paint.
- Test your gold color on parchment first to see how it shines before brushing the cake.
- Remember, the sparkle is most dazzling when the cake is fully chilled.
 Save
Save I hope you find as much delight sharing this Rosé Velvet Cake as I have, whether it’s a lavish party or an intimate afternoon tea. Every shimmering slice feels like a little toast to love and friendship.
Recipe Questions
- → How can I boost the rosé flavor without over-wetting the crumb?
Brush cooled layers lightly with a simple rosé syrup (equal parts wine and sugar warmed until dissolved) or reserve a tablespoon of wine for the frosting. Apply sparingly so the crumb stays tender, not soggy.
- → What’s the best way to achieve an even blush color?
Use concentrated gel food coloring and add a little at a time to the batter and frosting, folding gently until you reach the desired blush. Gel gives vivid color without thinning the mix.
- → How do I get a smooth, stable gold drip?
Make the drip from warmed white chocolate and cream (ganache) and cool to a slightly thick but pourable temperature. Pipe or spoon along the edge, let set, then paint with gold luster dust mixed with vodka or clear extract for shine.
- → Any tips to prevent layers from doming or sinking?
Sift dry ingredients, avoid overmixing once you combine wet and dry, and bake until a toothpick comes out clean. Cool 10 minutes in pans, then turn onto racks to cool completely before leveling.
- → How long can the finished cake be stored?
Store covered in the refrigerator for up to 3 days. For best texture, bring slices to room temperature 30–60 minutes before serving. Freeze layers unfilled for longer storage.
- → What non-alcoholic alternative preserves the rosé character?
Swap rosé with chilled sparkling grape juice or a rosé-flavored simple syrup. Brush layers or fold a small amount into the frosting for a delicate flavor without alcohol.