 Save
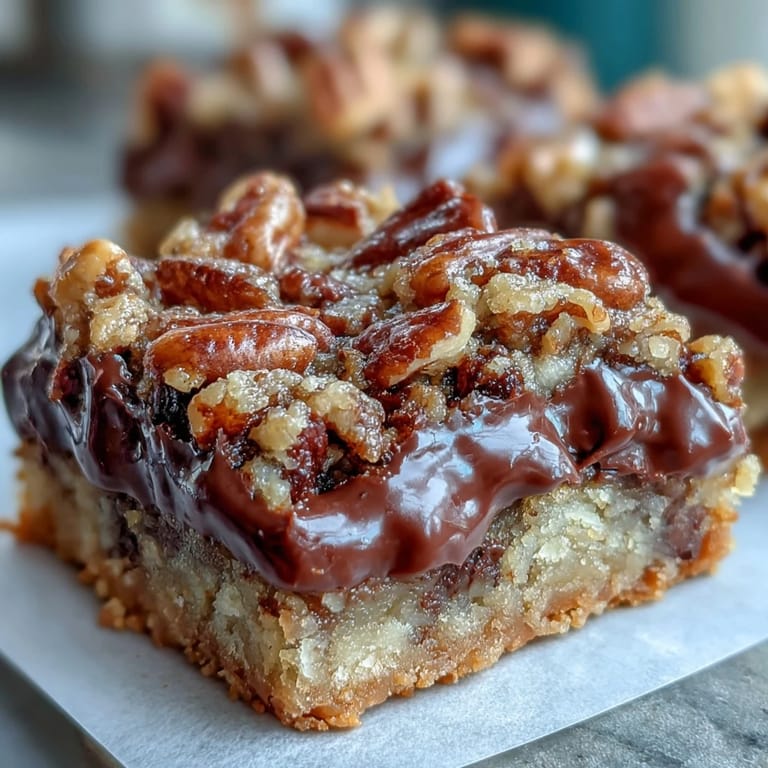
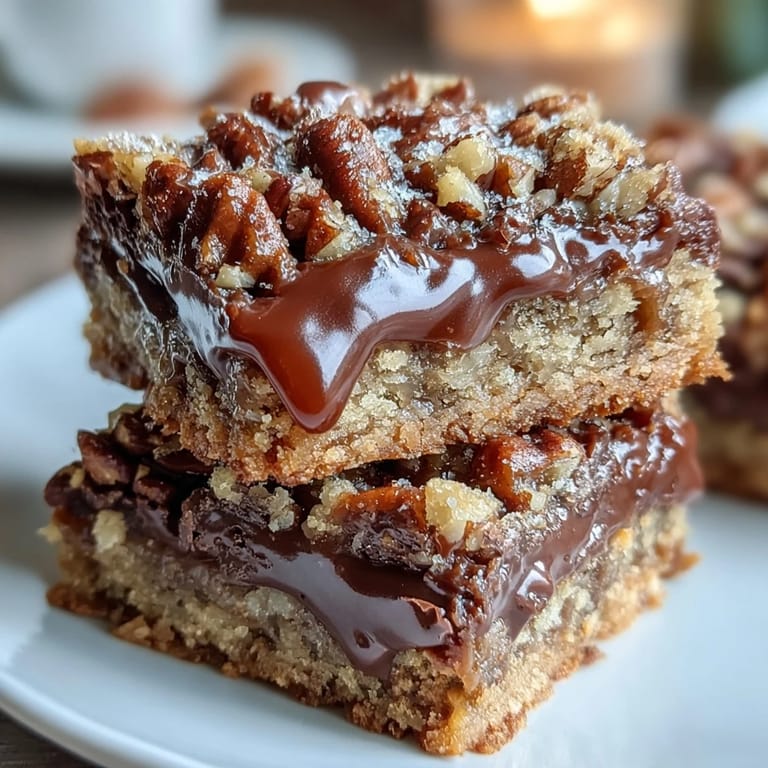
Save My neighbor knocked on the door with a tin of something she called turtle bars, and I honestly had no idea what to expect. One bite and I was hooked on that salty-sweet tangle of caramel, chocolate, and toasted pecans all held together by a crumbly oat crust. I asked for the recipe on the spot, and she laughed and said it was easier than it looked. She was right, but I still managed to underbake my first batch and ended up with a gooey mess that we ate with spoons straight from the pan.
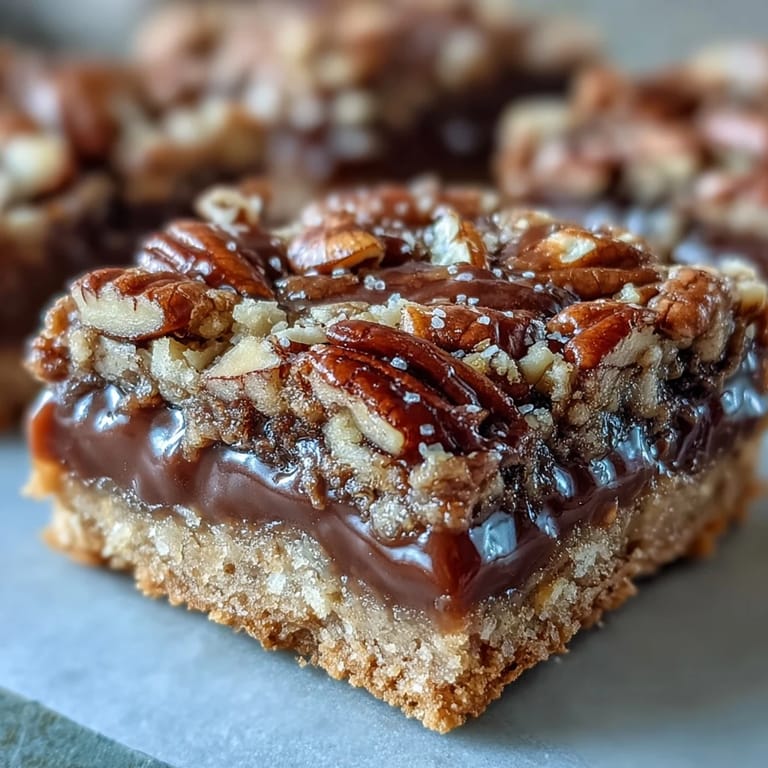
I brought a batch to a potluck once, still warm from the oven, and watched them disappear in under ten minutes. Someone asked if I owned a bakery, and I had to admit I'd only discovered the recipe a few weeks earlier. The secret is in the layering: you let the crust set just enough so it can support the weight of all that caramel and chocolate without turning soggy. That little head start in the oven makes all the difference between a bar that holds its shape and one that falls apart on the plate.
Ingredients
- All-purpose flour: Forms the structure of the crust and topping, giving you that tender crumb that holds everything together without being too dense.
- Rolled oats: Add chew and a subtle nuttiness, plus they toast beautifully in the oven and create those little crispy bits on top.
- Packed brown sugar: Brings molasses depth and helps the crust caramelize around the edges, which is where the best bites hide.
- Granulated sugar: Balances the brown sugar and keeps the sweetness clean, so the caramel can shine without competing flavors.
- Unsalted butter, melted: Binds the crumb mixture and adds richness, make sure it is melted but not hot or it will cook the oats unevenly.
- Salt: Just a pinch cuts through the sweetness and makes the caramel and chocolate taste more like themselves.
- Baking soda: Helps the topping puff and crisp as it bakes, creating texture instead of a flat layer.
- Semi-sweet chocolate chips: Melt into the warm crust and create rivers of chocolate, use good quality chips because you will taste them.
- Chopped pecans: Toast them first if you have time, the oils release and they become fragrant and crunchy instead of just sitting there.
- Caramel sauce: Store-bought works perfectly, but homemade gives you control over the sweetness and lets you add a touch of bourbon or vanilla if you are feeling bold.
- Heavy cream: Loosens the caramel so it spreads evenly and soaks into every layer instead of pooling in one corner.
Tired of Takeout? 🥡
Get 10 meals you can make faster than delivery arrives. Seriously.
One email. No spam. Unsubscribe anytime.
Instructions
- Prep the pan:
- Preheat your oven to 350°F and grease a 9x9-inch pan with butter or line it with parchment, leaving an overhang so you can lift the bars out later. This step saves you from scraping stuck caramel off the sides with a butter knife.
- Make the crumb base:
- In a large bowl, mix the flour, oats, both sugars, melted butter, salt, and baking soda until it looks like wet sand with clumps. Set aside 1 cup of this mixture for the topping, then press the rest firmly into the bottom of the pan so it does not crack when you cut the bars.
- Bake the crust:
- Slide the pan into the oven for 10 minutes, just until the edges start to turn golden and the kitchen smells like toasted oats. Do not skip this step or the crust will stay soft and soggy under all that caramel.
- Warm the caramel:
- While the crust bakes, pour the caramel sauce and heavy cream into a small saucepan over medium-low heat and stir until smooth and pourable. Remove it from the heat as soon as it is combined so it does not scorch.
- Layer the filling:
- Pull the crust from the oven and immediately scatter the chocolate chips over the hot surface, then sprinkle the chopped pecans on top. The residual heat will start melting the chocolate, which helps everything stick together.
- Add the caramel:
- Pour the warm caramel evenly over the chocolate and pecans, using the back of a spoon to nudge it into the corners. Work quickly before the caramel cools and thickens.
- Finish with crumble:
- Sprinkle the reserved crumb mixture over the caramel layer, breaking up any large clumps with your fingers. This topping will bake into golden clusters that add crunch.
- Bake until golden:
- Return the pan to the oven and bake for 15 to 20 minutes, until the topping is deep golden brown and the caramel is bubbling around the edges. The smell will be almost too much to resist.
- Cool completely:
- Let the bars cool in the pan on a wire rack for at least 30 minutes, or until the caramel sets enough to slice cleanly. If you cut too soon, you will have a beautiful mess.
 Save
Save The first time I made these for a bake sale, I wrapped each bar in wax paper and tied it with twine like a little gift. People kept coming back to ask what bakery I used, and I had to keep explaining they came from my kitchen. One woman bought six bars and told me she was hiding them from her kids. That is when I knew I had a recipe worth keeping.
Storing and Keeping Them Fresh
These bars keep beautifully in an airtight container at room temperature for up to a week, though they rarely last that long in my house. If you stack them, slip a piece of parchment between the layers so the caramel does not glue them together. I have also frozen them for up to a month, individually wrapped in plastic and tucked into a freezer bag, and they thaw perfectly on the counter in about an hour. The chocolate may bloom a little in the freezer, but the taste stays just as good.
Swaps and Variations
If you do not have pecans or someone has a tree nut allergy, walnuts or almonds work just as well, or you can skip the nuts entirely and add extra chocolate chips or toffee bits. I have made a salted caramel version by sprinkling flaky sea salt over the caramel layer before adding the crumb topping, and it was gone even faster than the original. You can also drizzle melted dark chocolate over the cooled bars for a fancier finish, or swap the semi-sweet chips for milk chocolate if you want something a little sweeter.
Serving Suggestions
I love serving these bars slightly warm with a scoop of vanilla ice cream on the side, the cold cream against the gooey caramel is unbeatable. They also pair beautifully with strong coffee or a glass of cold milk, and they travel well to picnics, potlucks, or afternoon meetings. If you want to dress them up, dust the tops with a little powdered sugar or add a drizzle of melted chocolate in a zigzag pattern.
- Cut them into smaller squares for a dessert platter or cookie exchange.
- Wrap individual bars in cellophane for party favors or lunchbox treats.
- Serve them on a wooden board with fresh berries and whipped cream for a casual dessert spread.
 Save
Save These bars have become my go-to whenever I need something that feels special but does not require all day in the kitchen. They taste like something from a candy shop, but they come together in about an hour and always make people smile.
Recipe Questions
- → Can I use homemade caramel instead of store-bought?
Yes, homemade caramel works beautifully. Ensure it's at a pourable consistency by mixing with the heavy cream as directed. The warmth helps it spread evenly over the chocolate and pecans.
- → How do I prevent the bars from sticking to the pan?
Line your 9x9-inch pan with parchment paper, leaving overhang on two sides. This creates handles for easy lifting and ensures clean removal once the bars have cooled completely.
- → Can I substitute the pecans with other nuts?
Absolutely. Walnuts or almonds make excellent alternatives. Toast them lightly before adding for enhanced flavor and crunch that complements the caramel and chocolate layers.
- → Why must the bars cool completely before cutting?
The caramel and chocolate layers need time to set properly. Cutting while warm results in messy, uneven squares. Full cooling ensures clean cuts and the signature chewy texture.
- → How should I store leftover turtle bars?
Keep them in an airtight container at room temperature for up to one week. Layer parchment paper between stacked bars to prevent sticking. They also freeze well for up to three months.
- → Can I make these bars ahead of time?
Yes, turtle bars are perfect for advance preparation. Bake, cool, and cut them up to three days before serving. Store covered at room temperature to maintain their chewy texture.