 Save
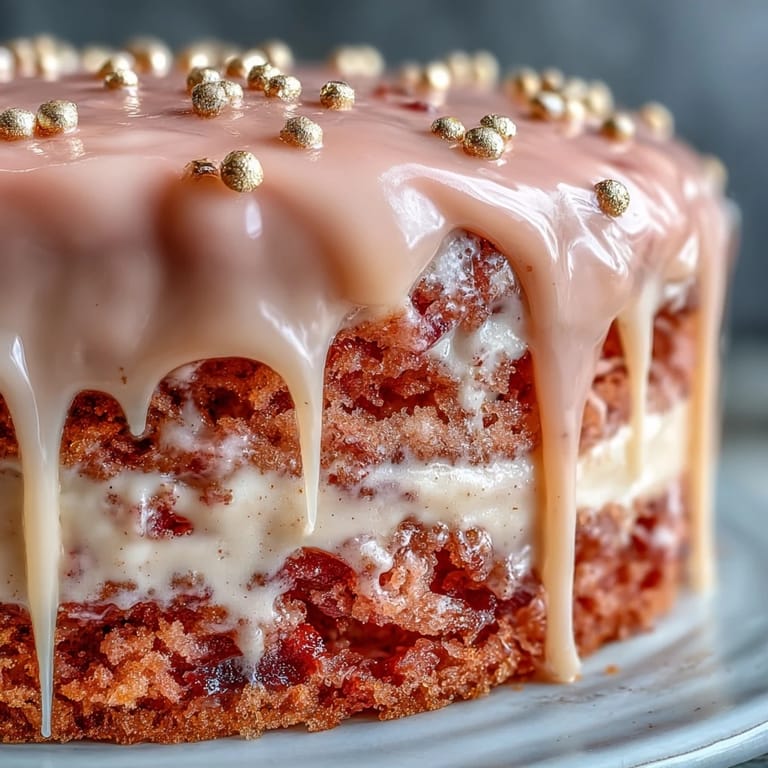
Save The kitchen always feels warmer when I’m preparing a cake as celebratory as this Rosé Velvet masterpiece. The first time I attempted it, I noticed the delicate scent of rosé drifting up with the vanilla, making me pause in the middle of creaming butter and sugar just to inhale it. It’s a dessert that captures both blush and bravado—pretty enough for a bridal shower table, yet satisfying enough to inspire that hush when it’s first sliced. I found its gold-tipped edges became conversational icebreakers more than once. Sometimes, small touches like edible shimmer can turn an ordinary afternoon into something unforgettable.
There was a Saturday in May when I baked this cake for my friend’s garden bridal shower—birds chirped louder than usual, and as I whisked the pink food color into the batter, a few of her cousins sneaked in to peer at the layers. One of them asked if the gold was real, and after explaining (and demonstrating) with the edible luster dust, we all ended up laughing and dusted in gold ourselves by the time cleanup rolled around.
Ingredients
- All-purpose flour: This provides a sturdy but tender base—always sift for the most delicate crumb.
- Granulated sugar: Beat it with the butter until you can feel it smooth out for the prettiest rise.
- Baking soda & baking powder: Both together keep the cake light, tall, and a touch springy.
- Salt: Just enough ensures every nuance of cocoa and rosé shines through.
- Unsweetened cocoa powder: Adds that blush-tinted, earthy undertone—use Dutch-process if you have it for extra smoothness.
- Unsalted butter: Room temperature is everything—it makes blending effortless and the cake extra moist.
- Buttermilk: Its acidity teams up with the leaveners for fluffy, even layers; never skip this step.
- Rosé wine: For a whisper of fruity aroma—choose something not too dry so the flavor sings.
- Large eggs: Essential for structure and that custardy richness—crack each in separately so you don’t risk any shell sneaking in.
- Vanilla extract: Even a hint transforms both batter and frosting, bringing everything together.
- White vinegar: Don’t let it scare you, it’s the secret to enhanced velvet texture.
- Pink food coloring gel: Build color slowly; a single drop too much can overpower the elegance.
- Cream cheese: Softening it with butter first guarantees a dreamy, spreadable frosting.
- Powdered sugar: Sifted always for that cloudlike, lump-free finish.
- Heavy cream: It’s what makes the white chocolate drip flow just right—err on the side of thicker if you’re nervous.
- White chocolate chips: Melt these gently so the drip stays pearly and gorgeous.
- Edible gold luster dust: The crowning touch—go lightly for glints or generously for a full-on gold rush.
- Vodka or clear extract: The evaporating agent for painting on pure shimmer without stickiness.
Tired of Takeout? 🥡
Get 10 meals you can make faster than delivery arrives. Seriously.
One email. No spam. Unsubscribe anytime.
Instructions
- Get Ready:
- Preheat your oven to 350°F (175°C) and grease three 8-inch round pans, tucking parchment in the bottoms so nothing clings.
- Sift and Mix:
- In a bowl, gently sift flour, cocoa powder, baking soda, baking powder, and salt—the cloud that rises smells like sweet anticipation.
- Whip the Butter and Sugar:
- In your largest bowl, beat softened butter with sugar until the mixture turns pale and fluffy, almost like frosting itself.
- Add Eggs and Flavor:
- Crack in eggs, one at a time, making sure each combines smoothly before pouring in the vanilla extract.
- Blush the Batter:
- Stir in buttermilk, rosé wine, and vinegar, then fold in your sifted dry ingredients just until no streaks remain—add pink dye gently to get just the right hue.
- Bake Beautiful Layers:
- Evenly divide batter between pans and bake for 30–35 minutes, checking for doneness with a toothpick that emerges nearly clean.
- Cool Completely:
- Let cakes rest in pans for 10 minutes before loosening the sides and turning out onto wire racks—the layers feel deeply tender.
- Create the Frosting:
- Beat butter and cream cheese together in a fresh bowl, adding powdered sugar gradually, then a splash of rosé and vanilla for an airy, silky spread.
- Build and Crumb Coat:
- Stack the cooled cakes with frosting between each, then sweep a thin layer all over (the crumb coat), chilling for 30 minutes to set everything in place.
- Final Frost:
- Spoon on the rest of the frosting for a perfectly smooth surface—don’t rush this, savor the swirls as they form.
- Gold Drip Magic:
- Microwave white chocolate and cream slowly, stirring between bursts, then pipe or drip over chilled cake edges for a dramatic effect.
- Paint on Gold:
- Mix luster dust and vodka or clear extract, then, with a steady hand, gently brush the gold over each drip—it feels like gilding tiny cake sculptures.
- Chill and Serve:
- Return the finished cake to the fridge for at least 30 minutes; slice and serve whenever the party is ready for a showstopper.
 Save
Save 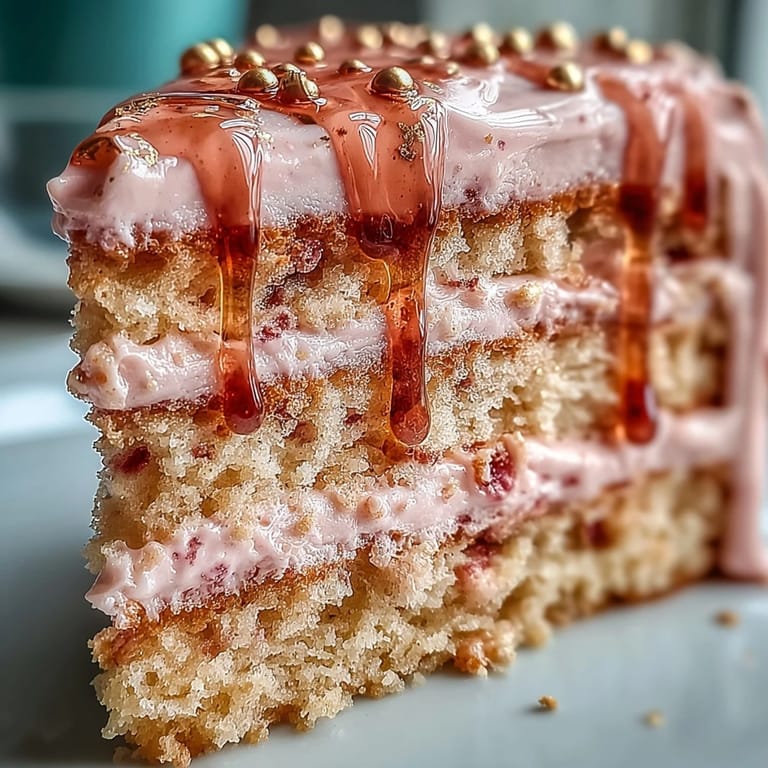 Save
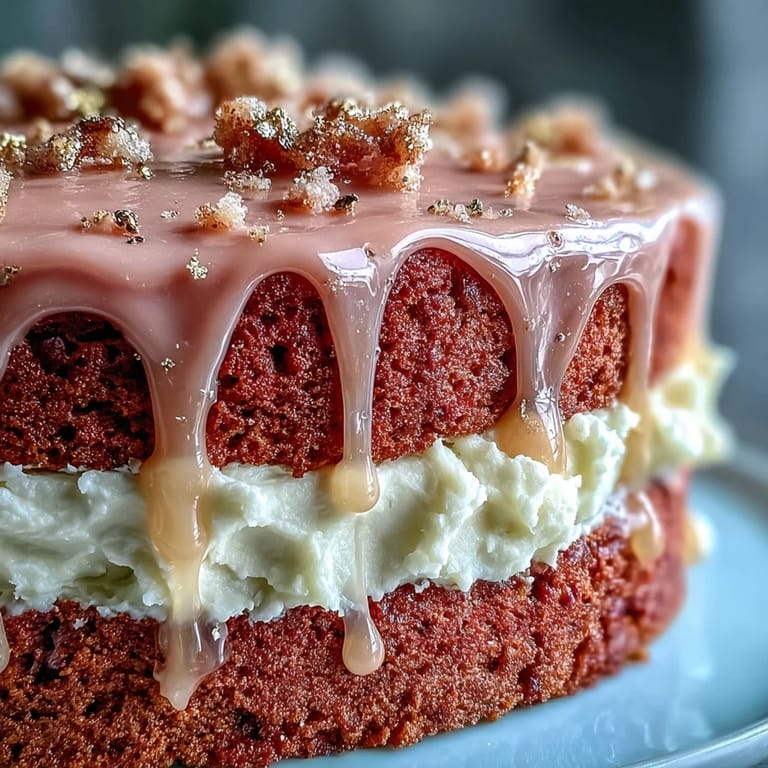
Save The first time I served this at a celebration, I found myself quietly proud when every guest crowded around as the gold shimmer caught the afternoon light—seeing friends snap photos and sneak extra forkfuls made the effort instantly worthwhile.
Making the Gold Drip Genuinely Shine
After a few attempts, I learned to let the white chocolate drip cool to just barely warm before letting it slide down the frosting—too hot and it runs out of control, but too cold and it becomes stubborn. Getting the angle of your spoon or squeeze bottle just right helps every drip look intentional and artful.
Choosing and Using Rosé for Baking
Not all rosé is created equal in cake—while it’s tempting to use leftovers from the fridge, something balanced and lightly fruity lifts the batter best. If you go with a sweeter bottle, expect the final cake to taste more like summer berries; if it’s drier, the cocoa notes stand out more.
Decorating for Dazzle and Joy
My favorite part might just be deciding on final flourishes: a few edible flowers, a brush of extra gold, or a scattering of sugared berries adds personal sparkle. Standing back to admire your cake is the little moment before sharing it, where pride and excitement mingle.
- Wipe your knife clean between slices for photo-worthy presentations.
- Chill the cake right after adding gold to prevent fingerprints or smudges.
- Share with a crowd—it’s truly meant for celebration.
 Save
Save  Save
Save Baking this cake is its own small celebration—whether you’re marking an engagement or just gathering for a beautiful day, it turns moments into memories. May every slice bring a little more sparkle to your table.
Recipe Questions
- → How can I boost the rosé flavor without changing texture?
Brush each cooled layer lightly with a spoonful of reserved rosé before assembling; this adds aromatic depth without loosening the crumb. Use a small amount at a time to avoid soggy layers.
- → What non-alcoholic substitute works best for the rosé?
Swap rosé with sparkling grape juice or a reduced grape syrup to keep the bright fruit notes. If using juice, reduce other liquids slightly to maintain batter consistency.
- → How do I achieve an even blush color throughout the cake?
Use a concentrated gel food coloring and add it gradually to the batter until you reach the desired shade. Gel won’t thin the batter like liquid colorings, so rise and texture remain intact.
- → Any tips for smooth, stable cream cheese frosting?
Start with room-temperature butter and cream cheese, beat until smooth, then add sifted powdered sugar slowly. Chill the crumb-coated cake before the final coat so the frosting sets cleanly and supports the drip.
- → How do I get a clean gold drip and avoid runny edges?
Cool the white chocolate ganache to a slightly warm, pipeable consistency before applying; test drips on the side of a bowl first. For the gold finish, mix luster dust with vodka or clear extract to a paintable consistency and brush onto set chocolate.
- → What’s the best way to store and serve this cake?
Keep the finished cake chilled and covered to protect decorations; remove from fridge about 30–60 minutes before serving to let flavors open and soften the frosting. For make-ahead, bake and freeze layers, then assemble and decorate on the serving day.