 Save
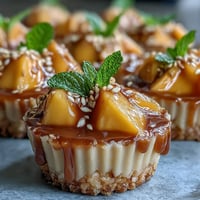
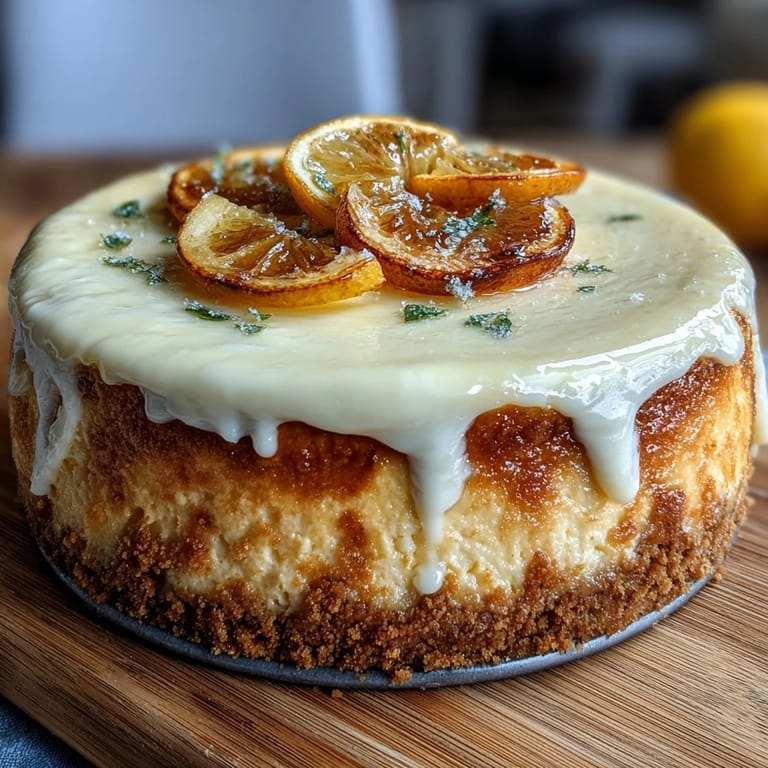
Save Last spring, I was scrambling to put together a dessert for a garden party and suddenly remembered those individual glass jars collecting dust in my cabinet. What started as pure convenience turned into something people still ask me to make—layered lemon cheesecake that tastes like summer but requires zero oven time. The brightness of fresh lemon paired with creamy sweetness in those little glass vessels somehow feels both elegant and effortless, which is exactly what I needed that afternoon.
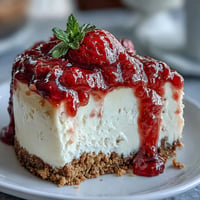
My neighbor stopped by one afternoon as I was layering these in jars, and she grabbed a spoon before I could even explain what I was making. That moment of watching someone's face light up while tasting the combination of buttery crust, tangy filling, and bright lemon curd taught me that sometimes the simplest preparations create the most memorable bites.
Ingredients
- Graham cracker crumbs (1 cup): This is your foundation, and the texture should feel like wet sand when mixed with butter—not clumpy, not powdery.
- Unsalted butter, melted (3 tbsp): Melted butter distributes more evenly than cold, so your crust binds without any dry spots hiding at the bottom.
- Granulated sugar for crust (2 tbsp): Just a touch of sweetness in the crust keeps it from being purely savory and balances the tartness coming next.
- Heavy whipping cream, cold (1 cup): Cold cream whips faster and holds peaks longer, which means your filling stays airy and light instead of turning dense.
- Cream cheese, softened (8 oz): Room temperature cream cheese blends smoothly without lumps—cold cream cheese will create pockets of frustration.
- Powdered sugar (1/2 cup): Powdered sugar dissolves instantly into the filling, unlike granulated which can create a grainy texture.
- Fresh lemon juice (1/4 cup): Bottled juice works in a pinch, but fresh lemon juice adds a brightness that makes people pause mid-bite.
- Lemon zest (1 tbsp): This is where the real lemon flavor lives—zest the lemon before juicing it, and don't be shy with how much you use.
- Vanilla extract (1 tsp): A whisper of vanilla deepens the lemon flavor rather than fighting it.
- Lemon curd (1/2 cup): This glossy topping provides both visual appeal and a concentrated lemon punch.
- Fresh berries: Raspberries and blueberries add tartness and color, but they're optional if you prefer keeping things simple.
Tired of Takeout? 🥡
Get 10 meals you can make faster than delivery arrives. Seriously.
One email. No spam. Unsubscribe anytime.
Instructions
- Make the crust:
- Combine your graham cracker crumbs with melted butter, sugar, and salt in a bowl until it resembles damp sand. You'll know it's ready when a pinch holds together but still feels crumbly.
- Press it down:
- Spoon about 2 tablespoons of crust mixture into each jar and use the bottom of a measuring cup or your fingers to press it firmly into a compact layer. This creates a sturdy base that won't crumble when you eat.
- Whip the cream:
- In a clean bowl (clean bowls really do matter here), beat your cold heavy cream with an electric mixer until stiff peaks form—this usually takes 2-3 minutes. You want peaks that stand at attention, not droopy peaks.
- Build the filling:
- Beat softened cream cheese until completely smooth, then add powdered sugar, lemon juice, zest, and vanilla. Mix until creamy and well combined, about 1 minute.
- Fold gently:
- Using a spatula, fold the whipped cream into the lemon mixture with a light hand—fold, rotate, fold again until no white streaks remain. Overmixing deflates all that air you worked to create.
- Layer into jars:
- Spoon or pipe the cheesecake filling over the crust in each jar, dividing it equally. If you have a piping bag, this step feels more controlled, but a spoon works just fine.
- Add the topping:
- Top each jar with a generous spoonful of lemon curd, letting it pool slightly on top. This becomes the visual centerpiece and the flavor finale.
- Chill thoroughly:
- Cover your jars and refrigerate for at least 2 hours, which allows the layers to set and the flavors to meld. You can actually make these up to 24 hours ahead, which is why they're perfect for entertaining.
- Finish and serve:
- Just before serving, scatter fresh berries on top and add a whisper of extra lemon zest if you're feeling fancy. The contrast of cool, creamy, bright, and fresh is what makes people ask for the recipe.
 Save
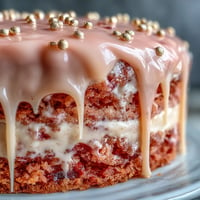
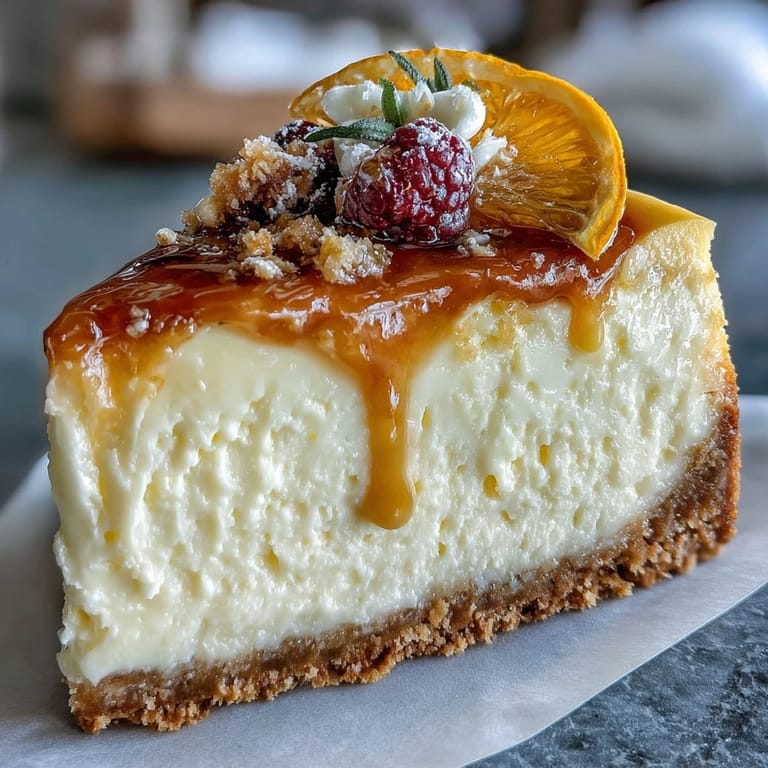
Save My sister brought these to a picnic last summer, and I watched three different people ask her for the recipe before we'd even finished eating. There's something about individual servings in jars that transforms a dessert from something you eat into something you experience.
The Magic of Lemon in Every Layer
What surprised me when I started making these regularly was how the lemon flavor intensifies as they sit in the refrigerator—the zest and juice seep into the cream cheese layer, making each bite more complex than when you first assembled them. I used to serve them immediately, but now I deliberately make them hours ahead so the flavors have time to become friends. By the time you eat them, it's not just lemon cheesecake anymore, it's a conversation between tart and creamy that tastes intentional.
Why Individual Jars Actually Matter
There's psychology in presentation that I didn't expect when I started using jars instead of making a traditional cheesecake. Each person gets their own complete experience—their own crust, their own filling, their own curd topping—and somehow that makes even a simple dessert feel thoughtful. Plus, they're portable, you can prep them days ahead, and they take up way less space in a refrigerator than a whole cake.
Flexibility Without Losing the Plot
I've experimented with so many variations of this recipe over the years, and the beautiful part is that it's forgiving enough to accommodate changes without falling apart. The structure stays solid whether you use mascarpone instead of cream cheese, add pistachios for crunch, or swap in different berries based on what's at the market. Once you understand how the layers work together, you can play around.
- If you want extra tang, increase the lemon juice to 5 tablespoons and reduce the powdered sugar slightly so it doesn't become cloyingly sweet.
- Mascarpone creates a richer, airier filling if you're feeling indulgent, though you might need to reduce the sugar since it's naturally creamier than cream cheese.
- Make these up to two days ahead and they'll actually taste better, so they're your secret weapon for stress-free entertaining.
 Save
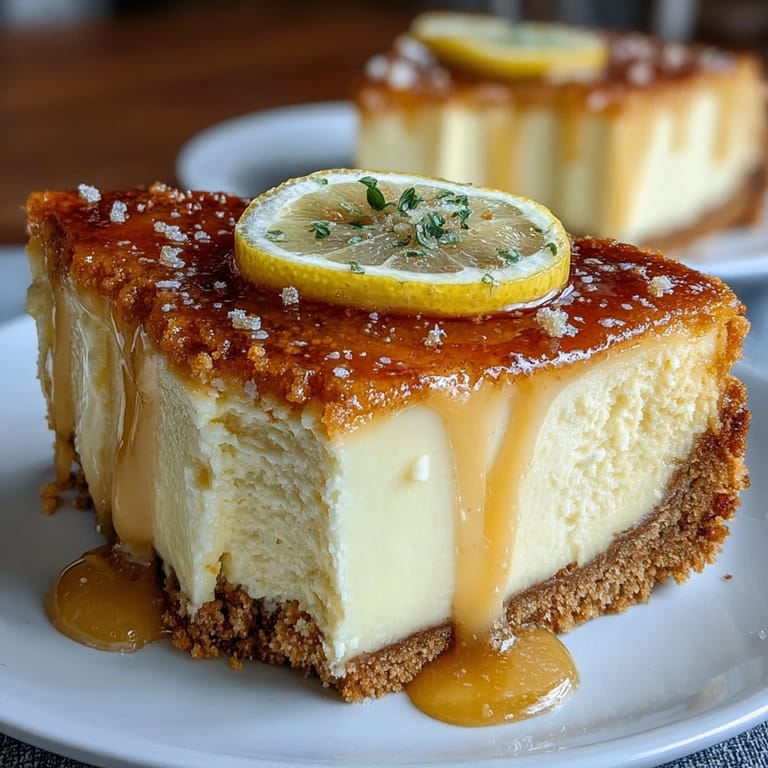
Save These jars have become my answer to nearly every spring and summer gathering—they're bright, they're easy, and they make people feel cared for without requiring hours of your time. That's the kind of recipe worth keeping close.
Recipe Questions
- → Can I make the crust gluten-free?
Yes, substitute regular graham crackers with certified gluten-free ones to accommodate gluten-free diets without compromising flavor.
- → How long should the jars chill before serving?
Refrigerate the jars for at least 2 hours to allow the layers to firm up and the flavors to meld perfectly.
- → What can I use instead of cream cheese?
Mascarpone can be used as a richer alternative, lending a smoother texture and slightly different flavor.
- → How do I achieve the whipped cream stiffness?
Beat the cold heavy whipping cream until stiff peaks form; this ensures the filling is light and holds shape well.
- → Can I prepare these jars in advance?
Absolutely, they are ideal for make-ahead dessert options since they require chilling to set and can be stored refrigerated for several hours or overnight.