 Save
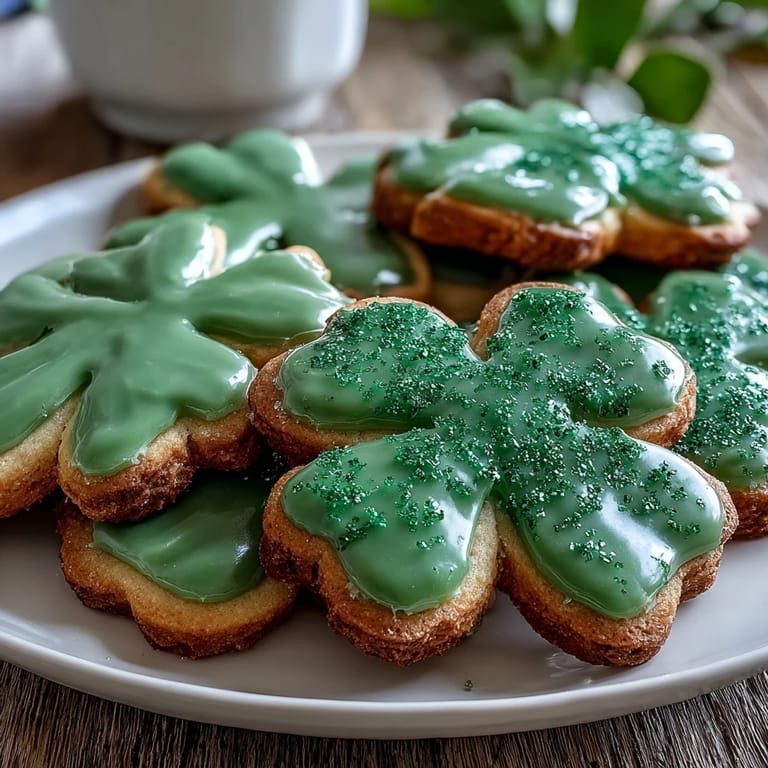
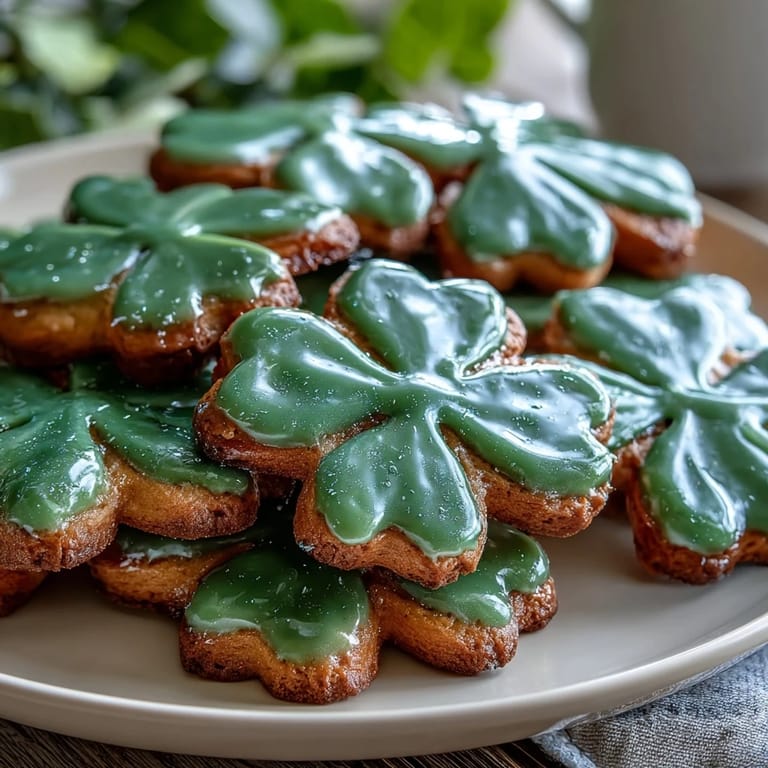
Save My neighbor knocked on the door mid-March with a sheepish grin, holding a box of store-bought shamrock cookies that tasted like cardboard. She admitted she'd given up trying to bake them herself, but watching her kids' disappointed faces haunted me. That afternoon, I decided to crack the code on proper St. Patrick's Day cookies—buttery, delicate, and decorated with icing smooth enough to look professionally done. What started as showing her a better way turned into an annual tradition where her whole family gathers in my kitchen, piping bags in hand. Now these cookies aren't just treats; they're our excuse to celebrate together.
I'll never forget the year my colleague Sarah brought these to the office potluck and someone asked if I'd ordered them from a bakery. She grabbed a cookie, bit into it, and her eyes went wide at how buttery and tender it was—that's when I knew I'd nailed the recipe. The combination of vanilla and that whisper of almond extract hits different when people aren't expecting homemade cookies to taste this good. Watching everyone reach for seconds while genuinely impressed made me realize these little shamrocks had become my kitchen signature.
Ingredients
- All-purpose flour: The foundation that keeps these cookies tender rather than tough; measuring by weight (315 g) beats the scoop-and-level method every time.
- Unsalted butter: Softened butter creams into fluffy clouds that trap air for a delicate crumb; cold butter fights back and ruins the texture.
- Granulated sugar: This creates a crisp edge while keeping the center soft, which is exactly what you want in a decorated cookie.
- Egg and extracts: One large egg binds everything and adds tenderness, while vanilla and almond extract build complexity without overpowering.
- Powdered sugar: Sifting it matters here because lumpy icing won't pipe smoothly and defeats the whole point of pretty cookies.
- Egg whites or meringue powder: Real egg whites create that glossy, professional finish; meringue powder works if you're worried about raw eggs.
- Green gel food coloring: Gel coloring doesn't water down your icing like liquid food coloring does, keeping that smooth consistency intact.
Tired of Takeout? 🥡
Get 10 meals you can make faster than delivery arrives. Seriously.
One email. No spam. Unsubscribe anytime.
Instructions
- Whisk your dry ingredients together:
- Combine flour, baking powder, and salt in a bowl and set it aside. This ensures even distribution of the leavening agent so your cookies rise predictably.
- Cream butter and sugar until it looks like fluffy clouds:
- Beat them together for 2 to 3 minutes until the mixture lightens in color and grows in volume. This step is where you're literally beating air into the dough, which makes cookies tender instead of dense.
- Add your egg and extracts:
- Blend the egg, vanilla, and almond extract into the creamed mixture until everything disappears into one smooth mass. Don't skip the extra minute of mixing here because emulsified dough bakes more evenly.
- Fold in the dry ingredients gently:
- Add the flour mixture gradually while mixing on low speed, stopping as soon as you don't see streaks of flour anymore. Overmixing develops gluten and makes cookies tough, so resist the urge to keep going.
- Chill your dough in disk form:
- Divide the dough in half, flatten each portion into a disk, wrap tightly in plastic wrap, and refrigerate for at least 1 hour. Cold dough doesn't spread all over the baking sheet and holds its shape through the oven.
- Roll and cut your shamrocks:
- Preheat your oven to 350°F and line baking sheets with parchment paper, then roll the chilled dough to 1/4-inch thickness on a lightly floured surface. Press your shamrock cutter straight down without twisting so the edges stay clean and defined.
- Bake until edges just turn golden:
- Bake for 9 to 11 minutes—the moment the edges hint at browning is when you pull them out. They'll keep cooking slightly on the hot pan, so don't wait for the center to look golden or you'll overbake them.
- Cool with intention:
- Let cookies sit on the baking sheet for 5 minutes to set slightly, then transfer them to a wire rack to cool completely before touching them with icing. Warm cookies will melt your royal icing, so patience matters here.
- Beat your royal icing to glossy perfection:
- Combine powdered sugar, egg whites (or meringue powder mixed with water), and vanilla or lemon juice in a clean bowl and beat for about 5 minutes until stiff peaks form and it looks like thick, shiny white meringue. The icing should hold its shape but still be smooth enough to pipe.
- Tint your icing with confidence:
- Divide the icing into bowls and stir in green gel food coloring drop by drop until you reach your perfect shade. A little goes a long way with gel, so add gradually and mix well before adding more.
- Pipe with patience and precision:
- Fill piping bags fitted with small round tips and outline each cookie first, then flood the center with icing and let gravity do the work. Once the outline dries slightly, the flooding icing won't break through, and you'll get that professional look.
- Set and show off:
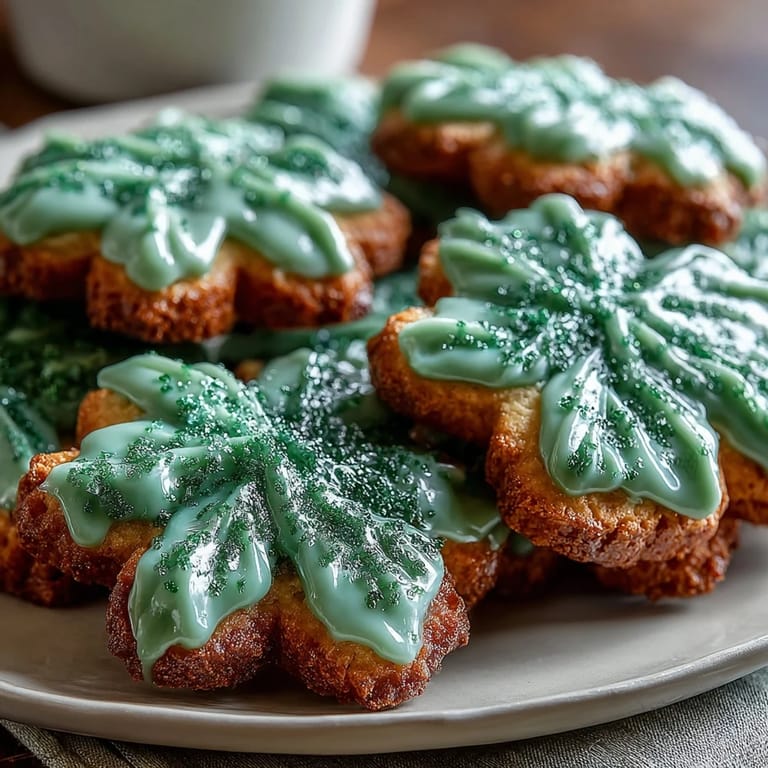
- Sprinkle with edible glitter if you're feeling fancy, then let the icing set undisturbed for at least 1 hour before storing or gifting. These cookies look almost too beautiful to eat, almost.
 Save
Save Last year, my seven-year-old niece decorated her first batch of these cookies with me, and she was so proud of the slightly lopsided shamrocks that she refused to let anyone eat them for three days. That moment reminded me that these cookies aren't really about perfection or impressing people—they're about the time spent together and the tiny hands learning that something homemade and flawed is infinitely more precious than anything store-bought. Now she's already asking when we can make them again.
The Secret to Professional-Looking Cookies
The difference between homemade cookies that look amateur and ones that look bakery-worthy comes down to two things: properly set icing and patience with the flooding technique. When you outline a cookie first and let that outline firm up for just a minute, the flood icing won't breach the barrier and create messy edges. I learned this after my first batch looked like deflated balloons, and now it's the one tip that changed everything about how these cookies present.
Timing and Make-Ahead Magic
You can make the dough the day before and keep it wrapped in the fridge, which actually improves the flavor as it ages slightly and gives you flexibility on baking day. Royal icing stays perfectly fine at room temperature for up to two days if you cover it, so you could bake the cookies one day and decorate the next. This makes St. Patrick's Day entertaining feel manageable instead of chaotic.
Flexibility and Customization
These cookies are your blank canvas for experimenting with flavors and designs once you master the basic technique. The almond extract can disappear entirely if you're avoiding tree nuts, and the icing color can shift to any holiday or occasion you're celebrating. Over the years, I've made these for Easter with pastel colors, weddings with white icing and gold accents, and Christmas with red and green variations—the core recipe never fails.
- Keep that shamrock cutter on hand because once people taste these, you'll be making them for every Irish-related gathering for the next decade.
- If your royal icing gets too stiff, thin it slightly with a few drops of water rather than starting over.
- Store finished cookies in an airtight container for up to a week, and they stay fresh and pretty without the icing softening.
 Save
Save Making these shamrock cookies has taught me that the simplest recipes, the ones your grandmother probably knew by heart, are often the ones worth mastering. When someone takes a bite and closes their eyes because it tastes that good, you'll know exactly why this little recipe became my kitchen legacy.
Recipe Questions
- → What ingredients ensure soft, buttery cookies?
Using unsalted butter and granulated sugar creamed together creates a tender texture. Adding vanilla and optional almond extract enhances flavor complexity.
- → How do I achieve the glossy finish on the icing?
Whip powdered sugar with egg whites or meringue powder until stiff peaks form. Adding lemon juice or vanilla extract helps achieve a smooth, shiny consistency.
- → What is the best way to cut shamrock shapes evenly?
Roll dough to a 1/4-inch thickness on a lightly floured surface before using a shamrock cookie cutter for clean, uniform shapes.
- → Can I prepare the icing ahead of time?
Yes, royal icing can be made up to two days in advance. Keep it covered at room temperature and stir before use to maintain consistency.
- → How long should the cookies cool before decorating?
Allow cookies to cool completely on a wire rack to prevent melting or sliding of the royal icing during decoration.